
Table of contents
- Quick nav
Why Your App Store Screenshots Look Blurry After Export — and How to Fix Them
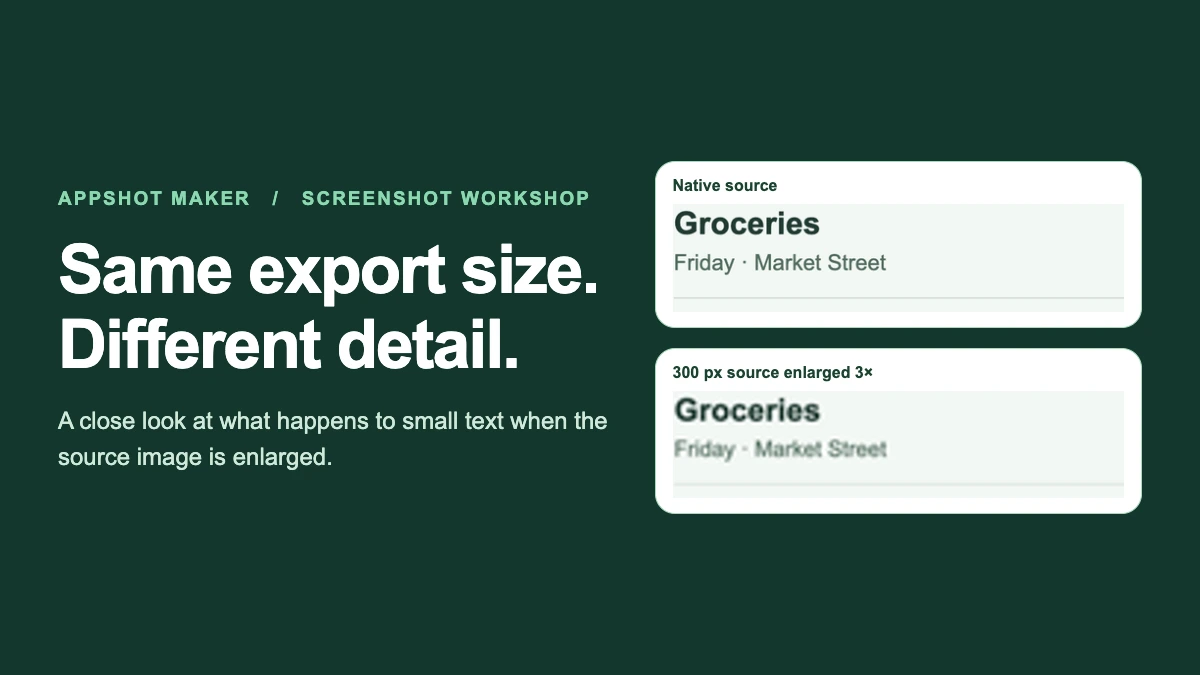
You export a 1206 × 2622 image. The headline is crisp, yet the numbers and labels inside the phone look soft. The export can be the right size even when the screenshot you placed inside it had too few pixels. Open the downloaded image at 100% zoom and compare one small label with the original capture. That tells you where to look before you start changing export settings.
Find where the detail disappeared
| What you see at 100% | Check first | What to change |
|---|---|---|
| Only the app UI looks soft | The pixel width of the source capture and its width inside the exported image | Reimport the original file directly from the device or simulator |
| Fine type has a halo or coloured edges | Whether an editor, messaging app or optimiser re-encoded the file | Export again from the source project as PNG and compare the same crop |
| The file looks sharp, but labels disappear in a small preview | How much room the important UI has in the composition | Give the important screen more space, simplify the layout or add a short caption |
| Even the caption added in the editor looks soft | Final file dimensions and the viewer's display zoom | Check the downloaded file before comparing it with the source board |
Apple's screenshot table includes 1206 × 2622 px among the accepted portrait sizes for the medium Dynamic Island slot. Match the actual slot you intend to fill. A valid file size and a readable layout are separate checks. Apple screenshot specifications
Four files with the same pixel dimensions
We rendered a fictional budget app, Pocket Ledger, in Chrome and captured it at 1206 × 2622 px. For the controlled test, we placed that interface in the same 900 px-wide rectangle on every output canvas. The reduced sources were made by downsampling the same capture to 600 or 300 px wide before placement. The JPEG version used the full source, then went through two JPEG encodes at quality settings 45 and 30 in Sharp with 4:2:0 chroma subsampling. Those settings make the artefacts visible in this example. Different JPEG encoders use different quality scales.
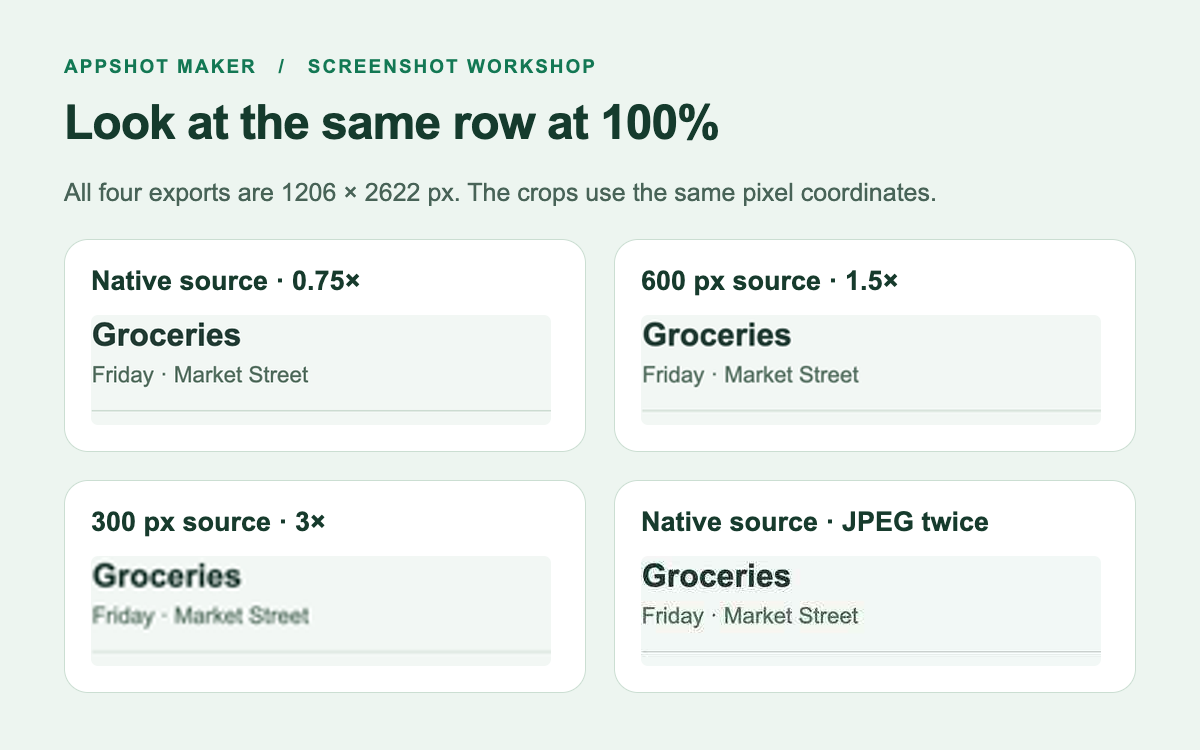
| Source width | Placed width | Scale applied to source | Final format | File size |
|---|---|---|---|---|
| 1206 px | 900 px | 0.75× | PNG | 279 KiB |
| 600 px | 900 px | 1.50× | PNG | 356 KiB |
| 300 px | 900 px | 3.00× | PNG | 446 KiB |
| 1206 px | 900 px | 0.75× | JPEG, two encodes | 75 KiB |
In the 3× sample, the small label loses much of its edge definition. The twice-encoded JPEG shows more visible artefacts around fine edges. The two enlarged PNGs are also larger on disk than the sharper PNG in this set. A resampled edge can occupy more distinct pixel values, which can change how well PNG compresses them. File size alone is a poor way to judge clarity. Download the test measurements.
For another project, divide the source crop's displayed width in the final export by its original pixel width. A 600 px crop rendered 900 px wide gives 1.5×. If the layout crops away part of the source first, use the width of the remaining source region. Values over 1 tell you that the image was enlarged. The best visual check is still to open the finished file. Open the comparison image at full size.

If the download is sharp, check the small view
We also downsampled the sharp PNG to 180 px wide. The 900 px UI region takes up about 134 px at that width. Even the sharp source has little room left for its smallest labels. The following is a local thumbnail check. Store display sizes vary with the device and placement.
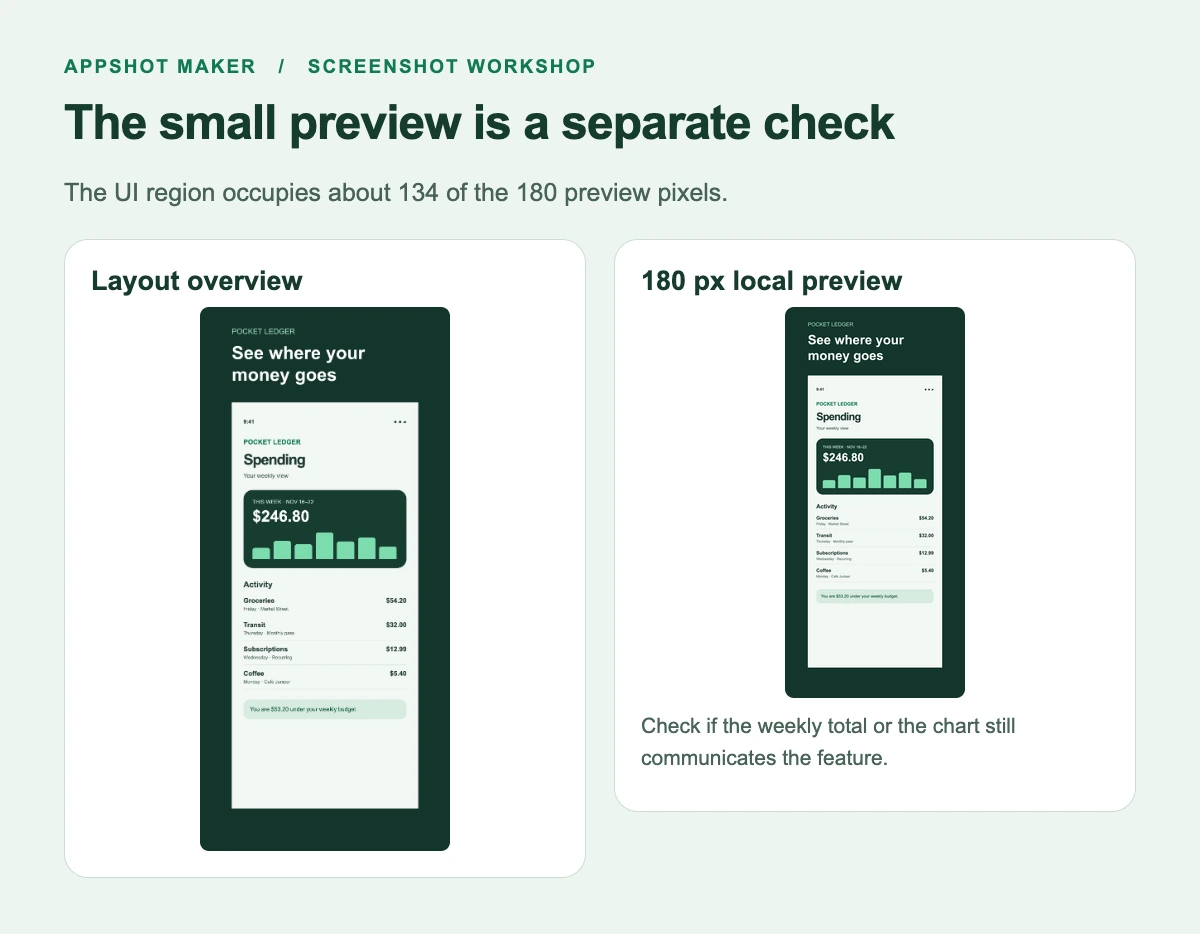
Choose one piece of UI that supports the promise on that board. If the screenshot is about spending, make the weekly total or chart recognisable. Move secondary controls out of the composition and leave the full capture in a later slide if it helps the story. Apple's guidance likewise asks developers to give people a clear view of the experience. Apple's screenshot design guidance
Re-export from the original
- Capture the screen at its native resolution. Keep the original file when transferring it from your device or simulator. Open that file before placing it to spot accidental resizing or compression.
- Import it into your screenshot editor. Set the store slot and size the frame with the intended focal point in view. If all you have is a low-resolution file, using less space or recapturing the UI is more reliable than applying heavy sharpening.
- Export one board as PNG to establish a clean reference. Open that downloaded file in an image viewer at 100%. Check the same transaction label, line or icon in the original and the export. If you also need JPEG, encode it once from the master and inspect that version separately.
- Review the first few images at a small width, then preview the actual listing in App Store Connect. If the details are sharp at 100% but disappear in the preview, change the composition before exporting the rest.
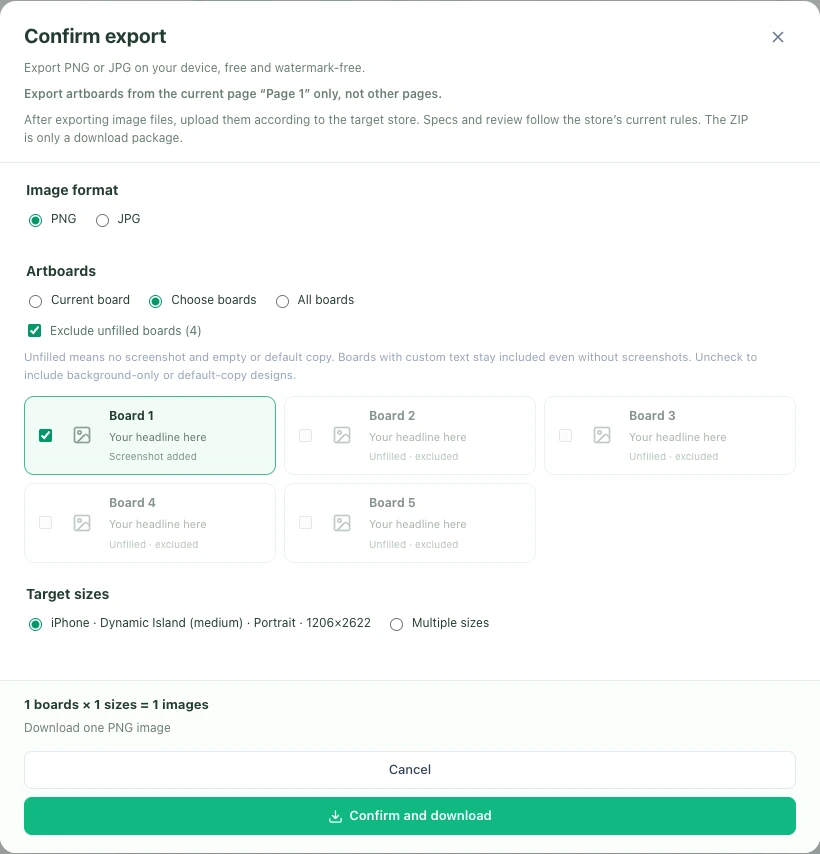
We checked the single-board PNG workflow in AppShot Maker, using the same demo capture. The controlled comparisons above use a fixed composition so the source width and encoding can be tested independently of the editor's template.
If you already have a finished export, start by checking its actual dimensions with the screenshot checker. Once the source and output are both sharp, use the caption layout walkthrough for boards where the headline starts overflowing after translation.
Test and editorial review by AppShot Maker, November 22, 2026. Pocket Ledger is a fictional interface. The test reports image dimensions and file sizes for the example files.
Ready to design your store screenshots?
Try AppShotMaker and turn raw captures into store-ready screenshots in minutes.